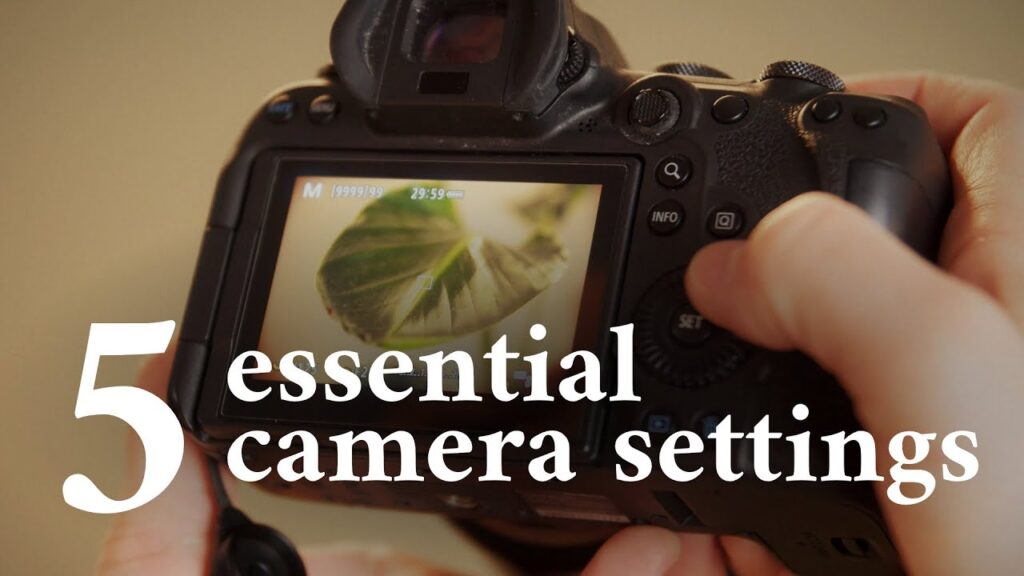
Photography is a wonderful form of creative expression that allows you to capture memories, tell stories, and explore the world around you.
However, for beginners, the world of photography can be intimidating and overwhelming, with countless technical terms and camera settings to navigate. Understanding the basics of camera settings is essential to creating beautiful images, and can make all the difference between a mediocre and a stunning photo.
1. Shutter Speed, 2. Aperture, 3. ISO, 4. White Balance, and 5. Focus are five essential camera settings that every beginner should know. By mastering these settings, you can take control of your camera and create images that truly reflect your artistic vision.
Shutter Speed
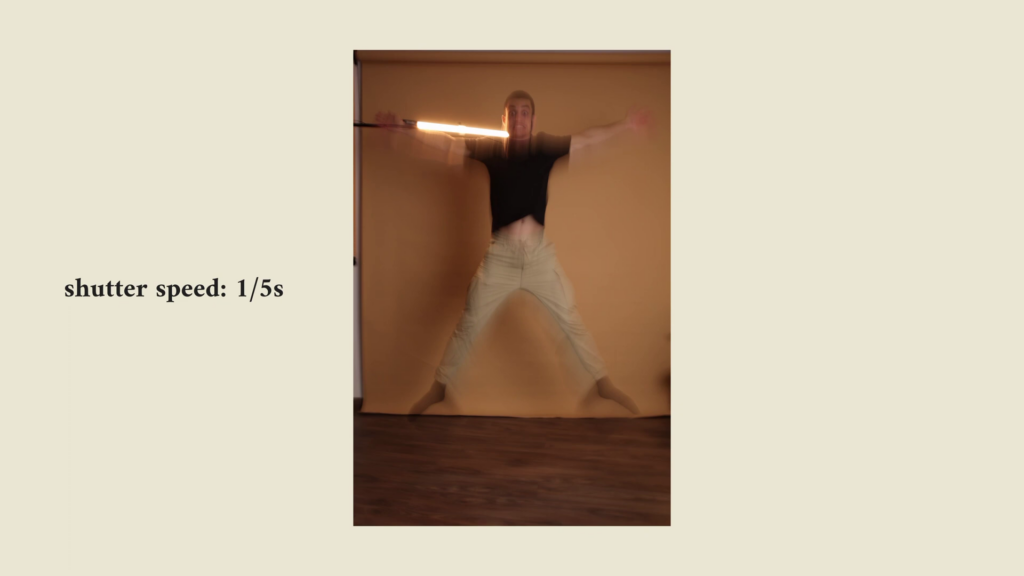
Shutter speed determines how long the camera’s shutter stays open, allowing light to reach the camera sensor. A fast shutter speed (such as 1/1000th of a second) freezes the action and captures a crisp image, while a slow shutter speed (such as 1/30th of a second) creates a blur effect. The blur effect can be used to show motion, such as in a waterfall or a moving car. It can also be used to create a sense of chaos, such as in a busy city street. This is the camera’s version of a “freeze tag”. A fast shutter speed freezes the action and captures a moment in time, while a slower shutter speed allows for some “motion blur” fun.
Real-world examples:
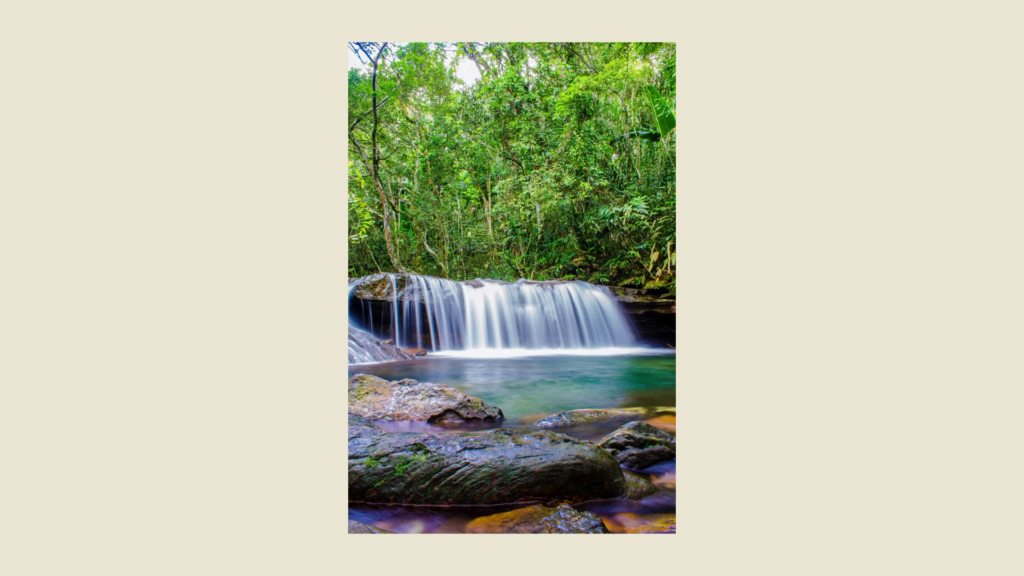
- Capturing the motion of a waterfall using a slow shutter speed.
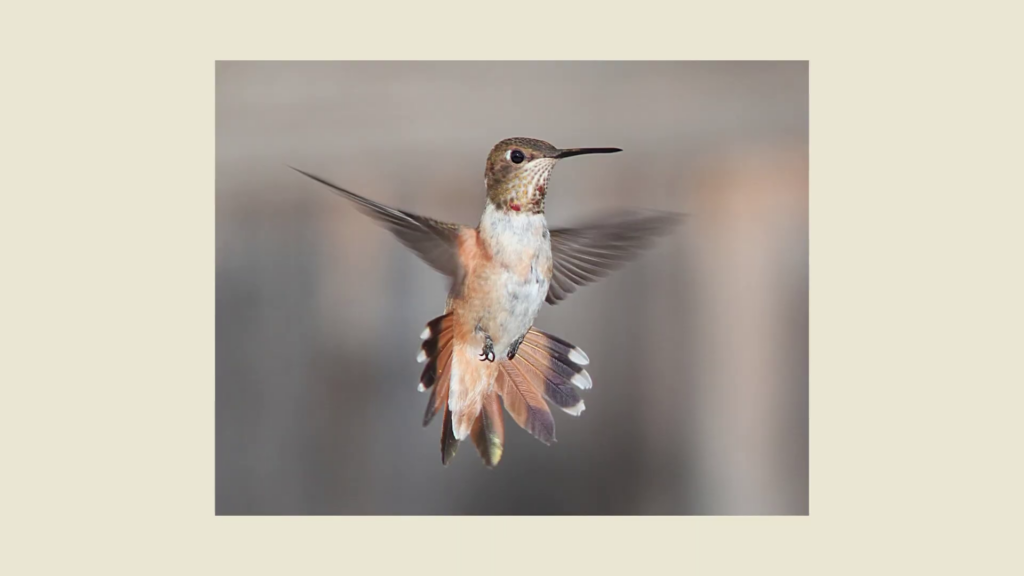
- Freezing the motion of a bird in flight using a fast shutter speed.
Aperture
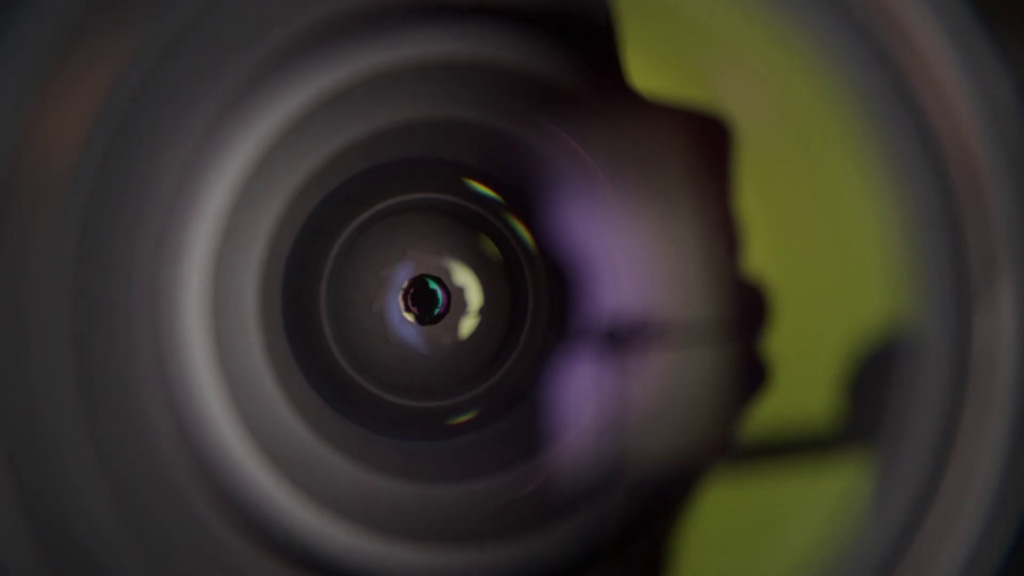
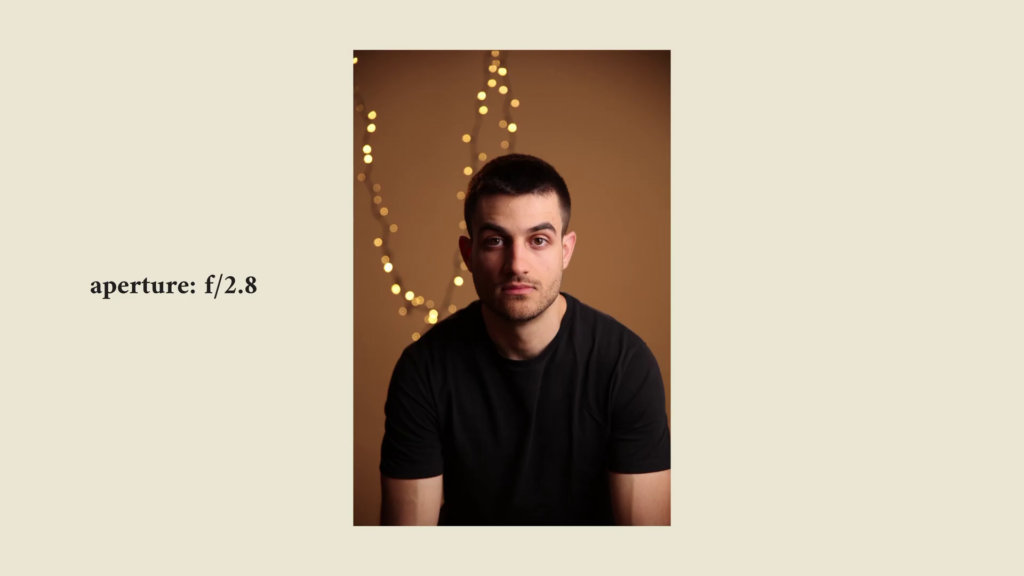
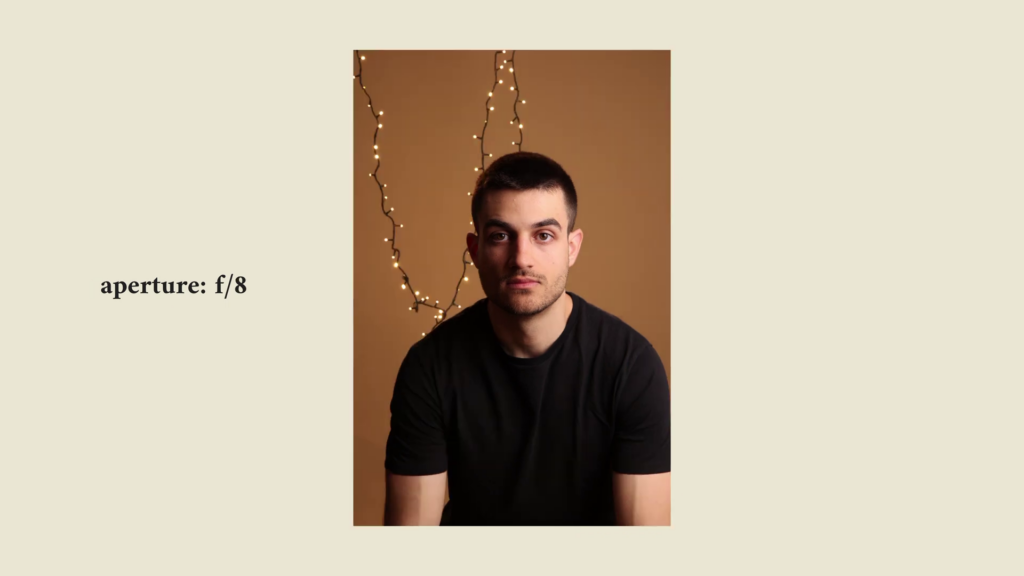
Aperture refers to the size of the opening in the lens through which light passes. A larger aperture (indicated by a lower f-number) allows more light to reach the camera sensor, creating a shallow depth of field (the area in focus). A smaller aperture (indicated by a higher f-number) allows less light to reach the camera sensor, creating a deeper depth of field. Imagine your camera lens is a mouth. The wider the mouth, the more food it can devour, but only one piece at a time. Similarly, a wider aperture (small f-number) lets in more light but narrows the depth of field, focusing on one subject at a time.
Real-world examples:
- Using a large aperture to isolate a subject in a portrait, blurring the background.
- Using a small aperture to capture a landscape with everything in focus, from the foreground to the background.
ISO
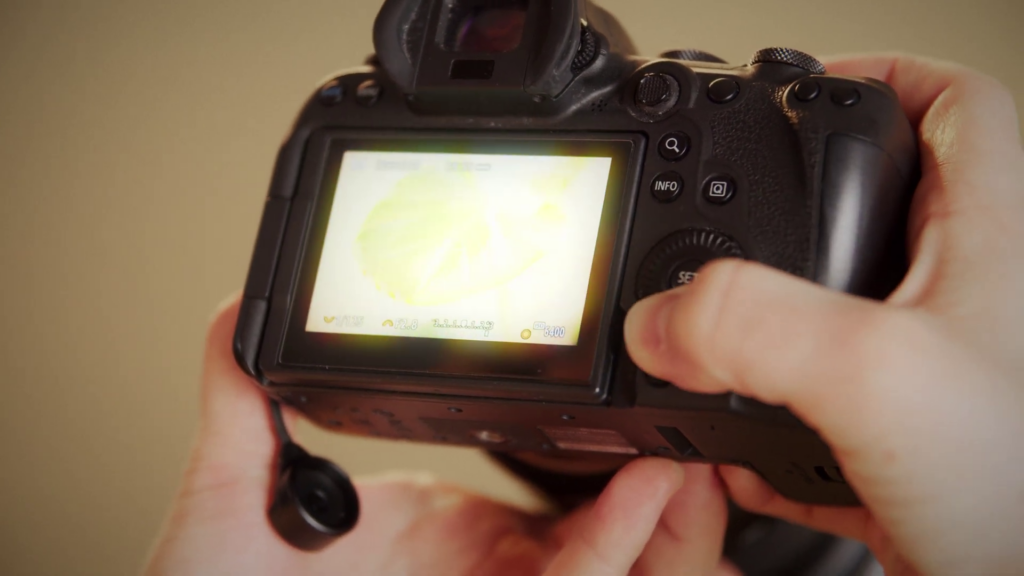
ISO measures the camera sensor’s sensitivity to light. A higher ISO allows for faster shutter speeds and better performance in low light. However, a higher ISO can also introduce noise (graininess) in the image. A lower ISO produces less noise but may require a longer shutter speed or larger aperture to achieve the correct exposure. Using a high ISO to capture a low-light concert or sporting event. ISO is like a superhero’s power level. The higher the ISO, the more sensitive the camera is to light, but like a superhero pushing its limits, a higher ISO can introduce noise and grain in your photo.
Real-world examples:
- Using a high ISO to capture a low-light concert or sporting event.
- Using a low ISO for a landscape photo on a sunny day.
White Balance
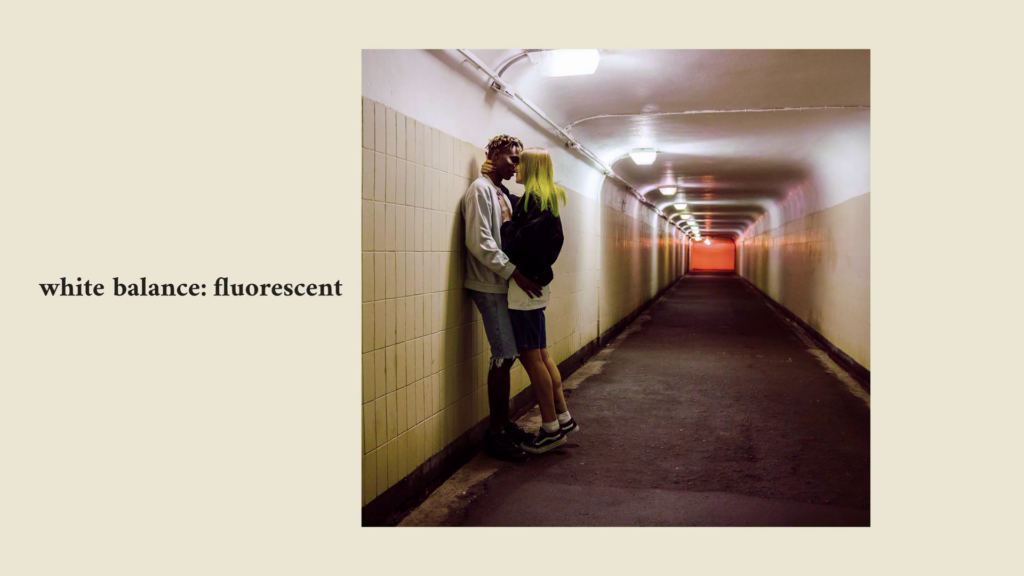
White balance adjusts the color temperature of the image to compensate for different lighting conditions. Different light sources have different color temperatures, and the camera’s white balance setting can help neutralize these color casts. White balance adjusts the color temperature of the image to compensate for different lighting conditions.
Real-world examples:
- Using a “shade” white balance setting on a sunny day to warm up the cooler, blueish tones of the light.

- Using a “fluorescent” white balance setting indoors under fluorescent lighting to remove the greenish hue.
Focus
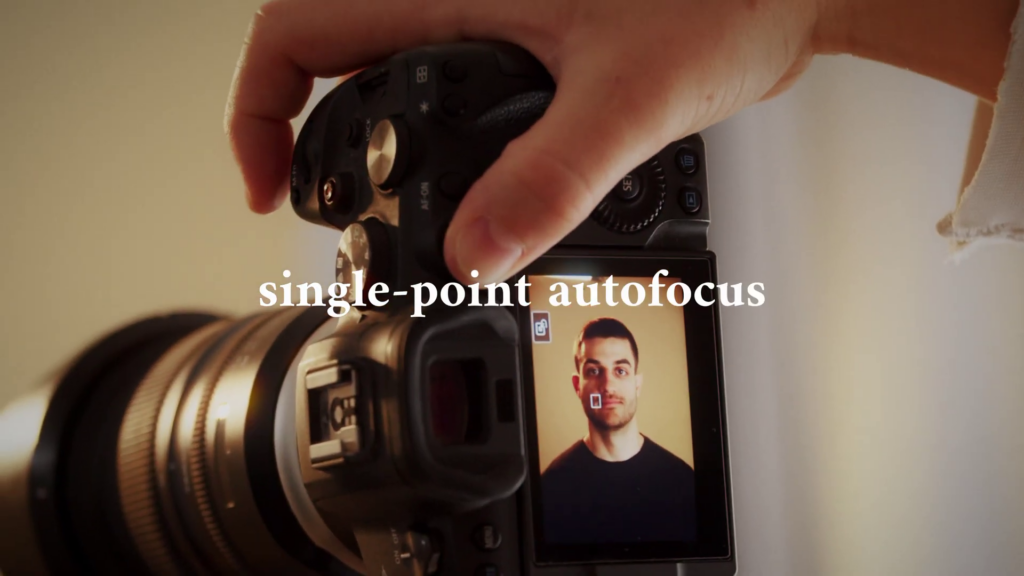
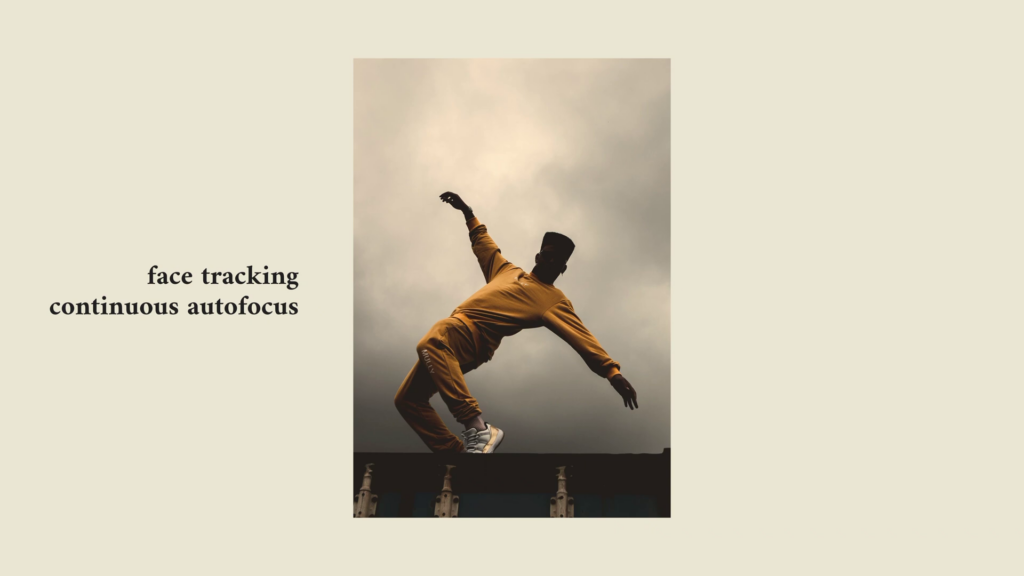
Focus refers to the sharpness of the image. It’s important to select the correct focus point, such as the subject’s eyes, to ensure that the photo is in focus. You can also use different focusing modes, such as single-point autofocus or continuous autofocus, depending on the subject and situation. This is your camera’s version of “Where’s Waldo?”. It helps you find and capture the most important part of your photo. Whether you want to focus on the subject’s eyes or nose, make sure you “zoom in” on the right spot.
Real-world examples:
- Using single-point autofocus to focus on a subject’s eyes in a portrait.
- Using continuous autofocus to capture a moving subject, such as a runner or a dancer.
As you continue to explore the world of photography, keep in mind that these camera settings are only the beginning. There are countless other techniques, such as composition, lighting, and post-processing, that can help you to take your photography to the next level. The key is to keep practicing, experimenting, and pushing your creative boundaries. With time and patience, you’ll be amazed at the stunning images you can create.


